


Flip diaper covers from Cotton Babies are excellent fully adjustable one size cloth diaper covers. These are made from the same waterproof PUL fabric that many modern cloth diapers are made from, including Bum Genius 4.0s (my pocket diaper of choice). Over time with normal wear, elastics and closures need to be changed. Its very normal for a stash of diapers to be worn by multiple children in your family or even multiple families.
Changing elastics in some diapers is an easy process, but others require a few additional steps, like the Flip. There are a few similar covers on the market and these steps can also be a general reference point.
Materials Needed :
Flip Cover
Seam Ripper
2 or 3 pieces of 1/4 inch Braided Elastic cut 4.5 inches each
Hand sewing needle
Matching Thread
Thimble (Optional)
Safety Pin or Paper Clip
Sewing Machine (Optional for Closing Seams)
Reserve 30 minutes - 1 hour


Unsnap the rise snaps to the largest size. Carefully use your seam ripper to open approximately 1.5 inches of stitches from the waist snap tabs. You want to be careful not to make any unnecessary holes or pricks, which could affect the ability to prevent leaks from the diaper. For reference sake, I chose to do this on the inside of the cover, but you could also do this on the outside.

When you first rip that seam open you won't immediately see the elastic. You have to peel the leg casing (binding) back a bit.

Pull that elastic out a bit and the sew your new elastic right on top of the old one. This is a bit too tight of an area to use a sewing machine, so you'll need to sew by hand. Hand sewing also helps you keep accidental pricks and stray stitches to a minimum. You may need a thimble to help push the needle through the layers.

You'll be using the old elastic to pull the new one through the casing. Sewing the pieces together eliminates the need to attach a safety pin to guide it through. Don't knot the end, just leave a long string of thread hanging so its simple to remove later.

Carefully cut the old piece of elastic free just past where it was originally sewn. Then open the opposite end (close to the rise snaps) and locate the attached end of the old elastic.

Once you've exposed the old elastic on the other side, simply pull it and the new elastic will glide right through the leg casing.
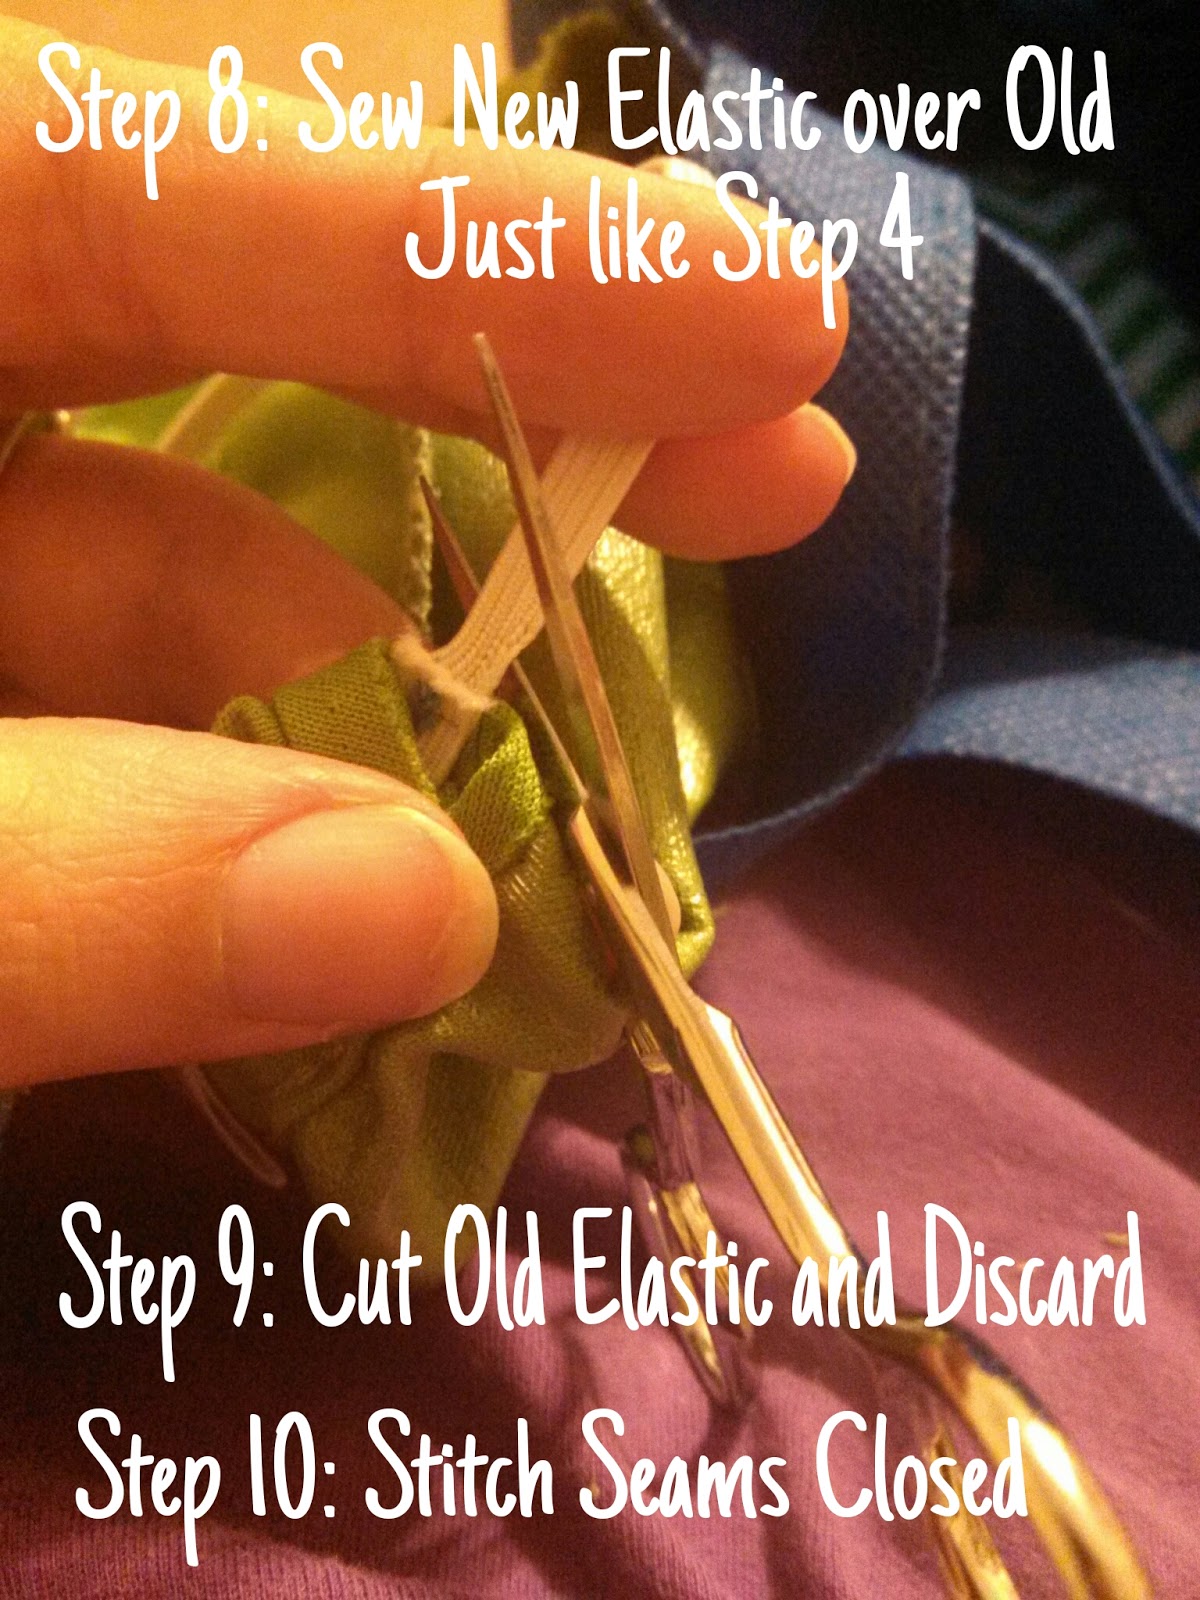
At this point, I attach a safety pin or paper clip horizontally across the new piece of elastic about an inch from the end. This just holds the new elastic through the casing so you don't loose it inside. Take out the loose stitches and secure the new elastic over the old one,just like Step 4. Then remove the safety pin or paper clip. The new elastic should be fully inside the leg casing now.
Carefully clip the old elastic away. Make sure that it is the free piece of elastic outside of the cover.
Then line up the leg casing on the front and back, making sure the elastic is on the inside, and sew closed. Try to sew in the same place as the original stitches. Also make sure to backstitch where the opening and original stitches meet. I use a sewing machine for a neat professional edge, but you can hand sew if you prefer.
Repeat on the other leg and/or the waist. The waist elastic is attached a bit closer to the waist snap tabs.
(I promise the next tutorial won't be for cloth diapers. I have been promising these for a while, so I wanted to get those out of the way.)
This is brilliant! Just what I needed! Thanks!
ReplyDelete